

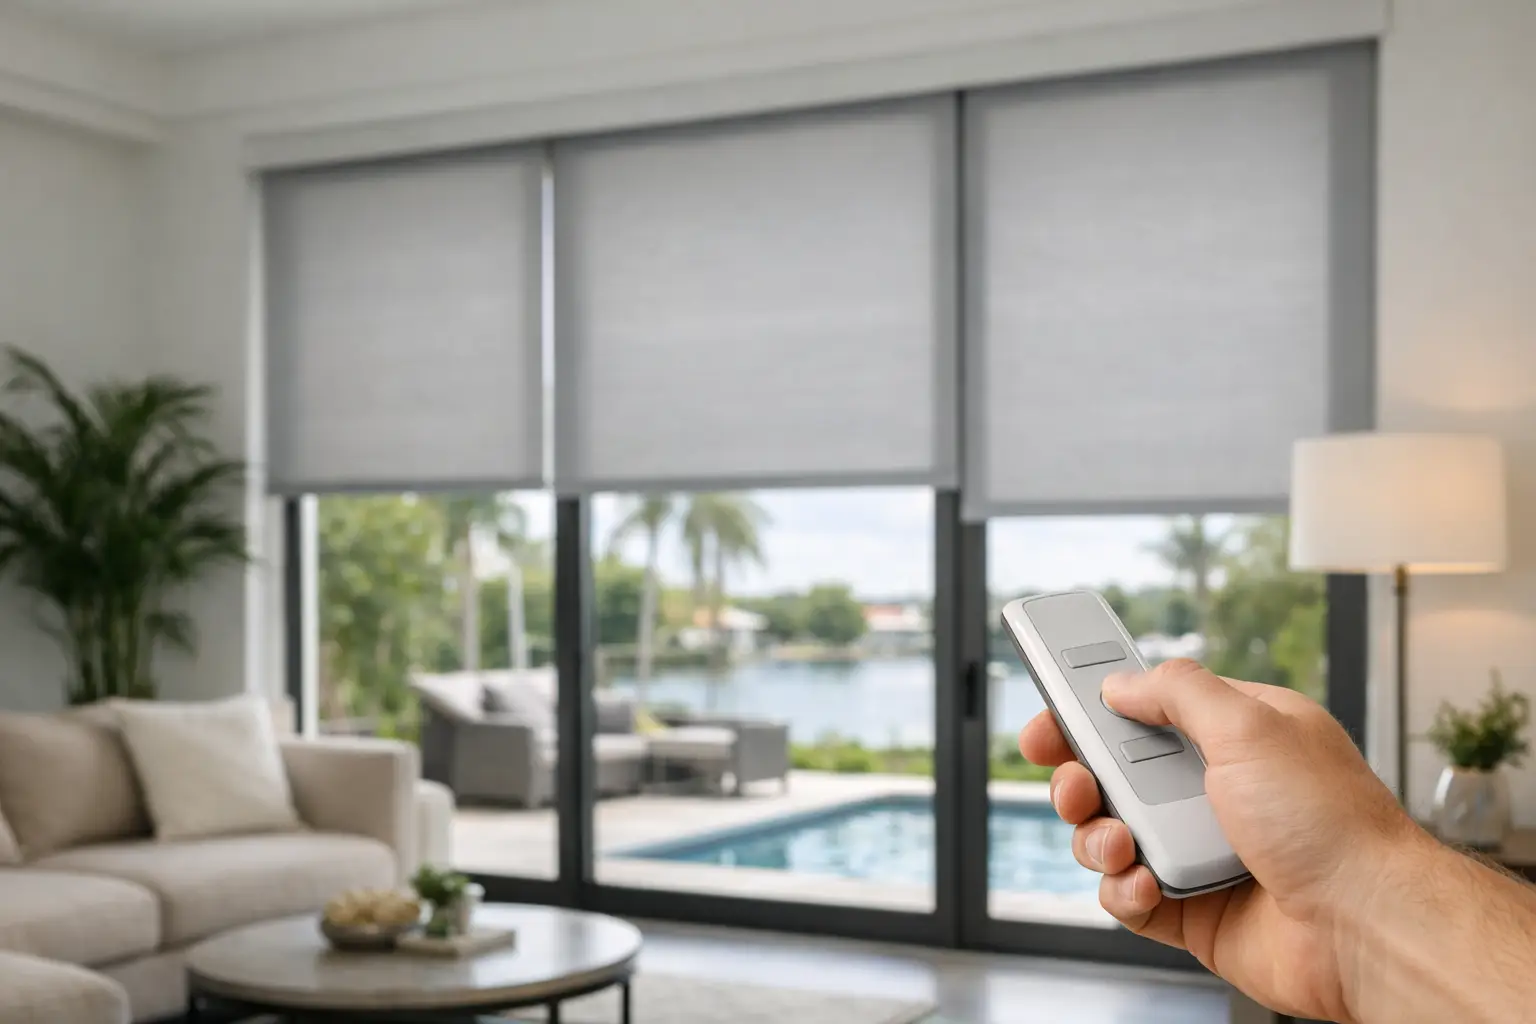
A motorized shade that stops two inches short of the sill can be surprisingly frustrating. It lets in a band of bright South Florida sun, interrupts the clean lines of the window, and makes an otherwise beautiful room feel unfinished. Learning how to program motorized shades helps you set the precise positions that make daily light control, privacy, and comfort feel effortless.
The process is usually straightforward, but it is not identical for every shade. Motor type, power source, control system, and fabric weight all affect the programming sequence. The right approach is to begin with the product instructions for your specific system, then make small, deliberate adjustments rather than repeatedly resetting the motor.
Before You Program Motorized Shades
Start by identifying how the shade is powered and controlled. A battery-powered shade may have a small programming button on the motor head, while a hardwired or rechargeable model may use a button hidden beneath a headrail cap. Some shades pair directly to a handheld remote; others connect through a wall control, hub, or app.
Make sure the shade has adequate power before doing anything else. Fresh batteries, a charged battery wand, or a verified electrical connection prevent many programming problems. If the motor responds slowly, stops midway, or does not respond consistently, address the power source first. Programming a shade with low power can result in limits that do not save properly.
Next, inspect the shade’s movement. The fabric should hang evenly, the bottom rail should remain level, and nothing should block the window opening. Roller, solar, cellular, and honeycomb shades all need a clear path to travel correctly. A shade that rubs against a window handle, trim detail, or furniture may appear to have a programming problem when the real issue is physical interference.
Keep the original remote, charging equipment, and product paperwork nearby. The paperwork matters because button locations and confirmation signals differ by manufacturer. A motor may acknowledge a command with a brief jog, a series of beeps, or a flashing light. Knowing what confirmation looks like helps prevent accidental changes.
How to Program Motorized Shades: The Basic Process
Most motorized shade programming follows the same general logic: wake or select the motor, set the upper limit, set the lower limit, and confirm the saved positions. The exact button presses vary, so use the instructions supplied with your shade for the specific sequence.
Select the correct shade or channel
If one remote operates several window coverings, first select the channel assigned to the shade you want to adjust. This is particularly important in rooms with multiple windows. Changing limits while every channel is active can cause several shades to move or save an unintended setting.
Test the channel with a short up or down command. Confirm that only the intended shade responds before entering programming mode. In a large room, it can help to label remote channels by window or area, such as “patio,” “bed,” or “office.”
Enter programming mode
Locate the programming button on the remote, motor head, battery wand, or wall control. Depending on the system, you may press and hold it until the shade jogs, press a recessed button with a small tool, or use a specific button combination. Do not hold buttons longer than the instructions indicate. Extended presses can sometimes reset pairing rather than simply open limit-setting mode.
When the motor confirms programming mode, pause for a moment. The shade should now be ready to accept a new upper or lower stopping point.
Set the upper limit
Use the raise and lower controls to move the shade to the desired top position. In most applications, the upper limit should allow the shade to retract fully and sit neatly within or beneath the headrail. For a roller or solar shade, check that the fabric rolls evenly and does not telescope to one side.
There are exceptions. You may prefer a slightly lower upper limit when a valance, decorative hardware, or deep window trim creates a better visual stopping point. The goal is not simply maximum height. It is a position that looks intentional and allows the shade to operate without strain.
Save the upper limit using the confirmation method specified for your control. Wait for the motor’s jog, beep, or other signal before moving on.
Set the lower limit
Lower the shade slowly to the preferred bottom position. A full-length shade often looks best when the bottom rail rests just at the sill or closes close to it without pushing into the surface. For shades that stop above a countertop, desk, or furniture piece, set a practical clearance that protects the material while still providing coverage.
This setting has real consequences for privacy and glare. In bedrooms and bathrooms, a lower limit that leaves a visible gap may not provide the coverage you expect after dark. In a living room with strong afternoon sun, a solar shade may need to reach closer to the sill to reduce glare on floors and screens.
Save the lower limit and test the shade through a complete up-and-down cycle. Watch the fabric and bottom rail during the entire movement. If it stops where you want but tracks unevenly, do not keep reprogramming the limits. The installation or alignment may need attention.
Pairing a Remote, Wall Control, or App
A newly installed shade may need to be paired with a control before it can be programmed. Pairing establishes communication between the motor and the remote, wall control, or smart-home system. It is different from setting travel limits, although the two tasks are often completed at the same appointment.
For a remote, select the desired channel, put the motor into pairing mode, and send the pairing command from the remote. The motor should give a confirmation response. Test raise, lower, and stop functions before adjusting limits or favorite positions.
For app-controlled shades, make sure the hub or bridge is connected and that the shade is within the recommended range. Follow the app prompts in order, especially when assigning the shade to a room or group. Naming shades clearly makes automation much easier later. “Kitchen east window” is more useful than “Shade 3” when you are creating scenes or scheduling routines.
If a shade responds to one control but not another, avoid repeatedly re-pairing it without checking the basics. The remote battery may need replacement, the selected channel may be wrong, or the control may be out of range. Re-pairing should be a targeted fix, not the first response to every issue.
Add Favorite Positions for Everyday Use
Many motorized shades allow you to save a favorite position between fully open and fully closed. This feature is especially useful in South Florida homes, where direct sun can change the feel of a room quickly without requiring total darkness.
A favorite position might lower solar shades enough to soften glare while preserving a view, or stop cellular shades at a height that provides privacy while leaving the upper window open to natural light. In a home office, it may be the position that reduces reflection on a monitor. In a bedroom, it may be the setting that filters early morning light without closing the room off completely.
Program the favorite position after both travel limits are correct. Move the shade to the desired height, use the required save command, and test it several times. If you use grouped controls, decide whether each shade should share the same favorite setting. Windows facing different directions often need different positions to manage sun effectively.
When a Shade Will Not Program Properly
A shade that does not respond may simply be asleep, unpowered, or assigned to another channel. Start with the simplest checks: verify power, select the correct channel, and make sure the remote is working. Then check for obstructions and confirm that the motor receives a command.
If the shade moves in the wrong direction, most systems have a direction-reversal setting. Correct this before setting limits. Otherwise, the controls will remain counterintuitive and can complicate future adjustments.
When limits will not save, reset only the travel limits if your manufacturer’s instructions allow it. A full factory reset can erase remote pairings, room assignments, favorite positions, and smart-home settings. It is useful when necessary, but it creates more work than a focused limit reset.
Repeated stopping, uneven rolling, unusual noise, or a bottom rail that becomes crooked are signs to pause. These issues can indicate an alignment, mounting, fabric, or motor concern that programming alone cannot solve. For custom window treatments, professional service protects both the finish of the shade and the long-term reliability of the motor.
A Better Result Starts With Proper Installation
Programming is the final adjustment, not a substitute for correct measuring and installation. A motorized shade should be mounted level, sized appropriately for the opening, and selected with the room’s privacy, light, and design goals in mind. That foundation is what allows the motor to perform as intended.
For homeowners in Boca Raton and nearby South Florida communities, Boca Blinds provides experienced design guidance and professional installation for motorized window coverings tailored to the way each room is used. Once the shades are properly fitted and programmed, opening the room to morning light or closing it for privacy becomes a simple part of the day – exactly as it should be.